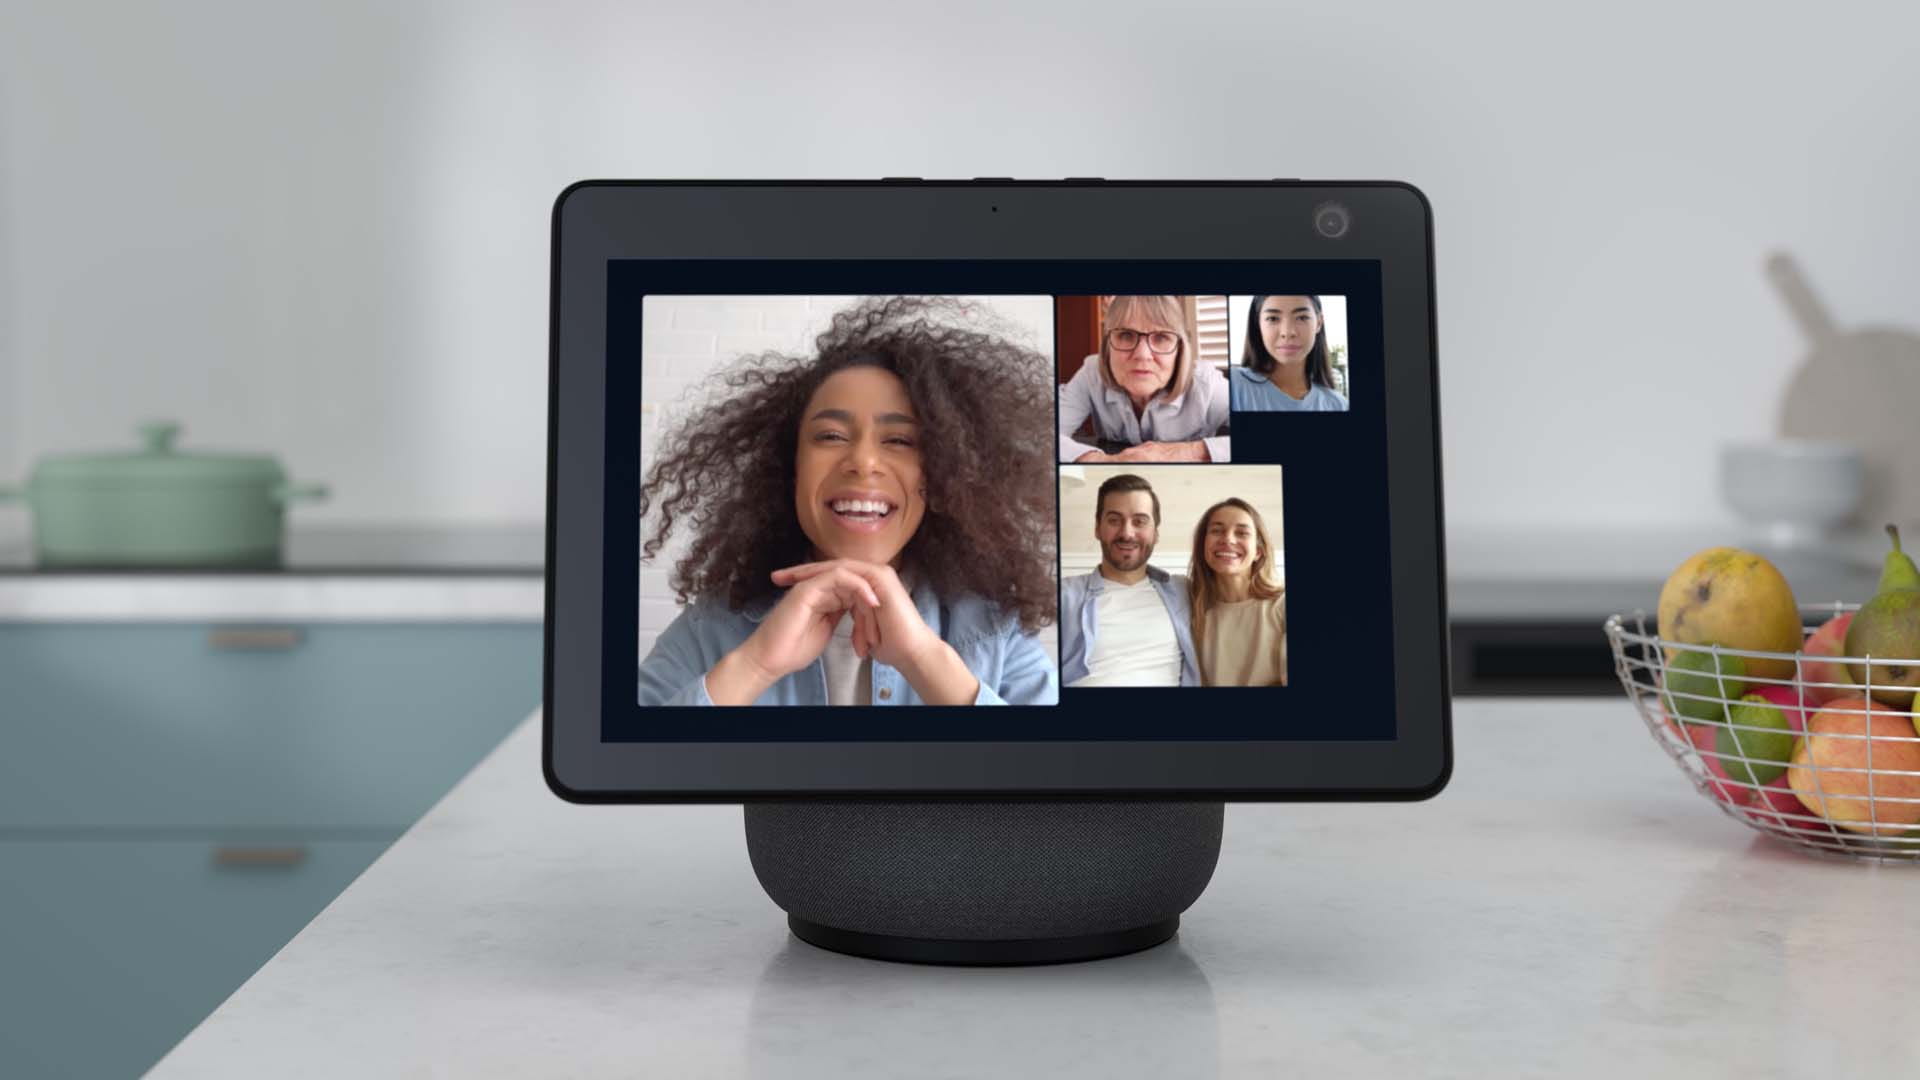
How to use your smart display as a digital photo frame
Using your smart display as a digital photo frame doesn't need to be complicated, we show you how to enable this great feature.
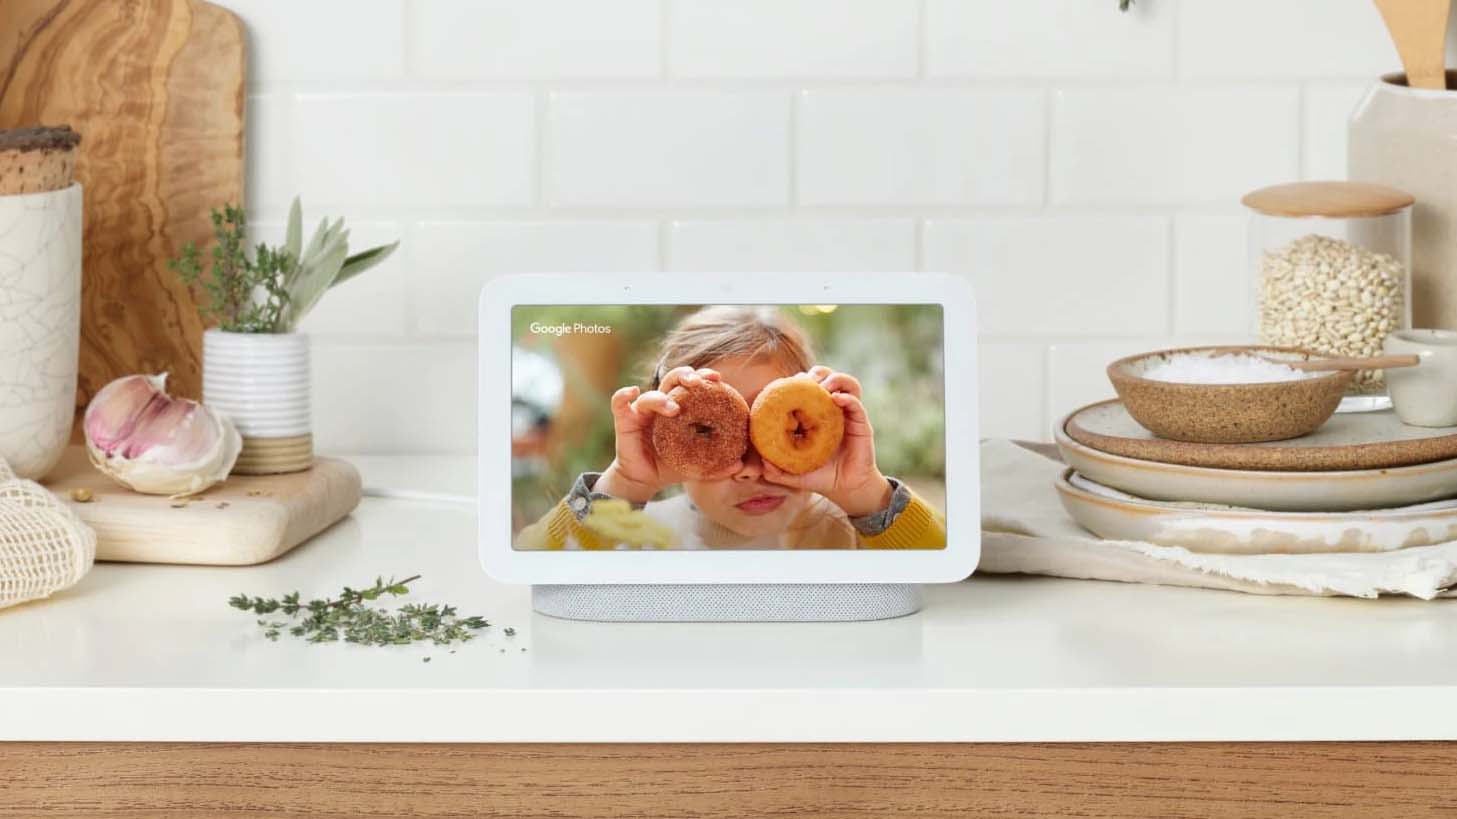
Using your smart display as a digital photo frame doesn't need to be complicated, we show you how to enable this great feature.

We explain how to set up the digital photo frame feature of the three most popular smart displays: the Nest Hub, Amazon Echo Show and Meta Portal.
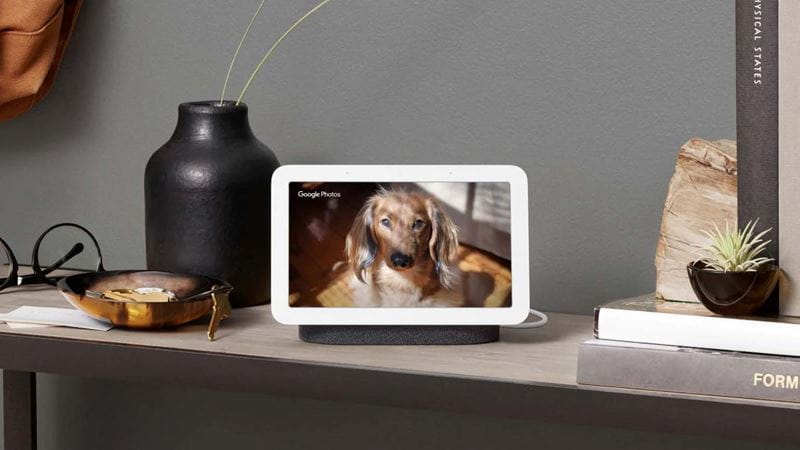
By default, iPhones and iPads save every photo you take to their own app, called Photos. These photos can’t be seen on your Nest Hub, so you’ll first have to download the Google Photos app and log in with the same Google account you use with your Nest Hub.
Open Google Photos, grant it access to your iPhone’s photos (you’ll be prompted to do this) and tap Library in the lower-right corner, then the Plus icon to create a new album. Give the album a name and tap the Select Photos button. Now just tap on every photo you want to add.
You can pinch to zoom in or out, making it easier to see lots of photos at once. Lastly, tap the Add button in the top-right corner, then tap the blue tick in the top-left to finish creating your album.
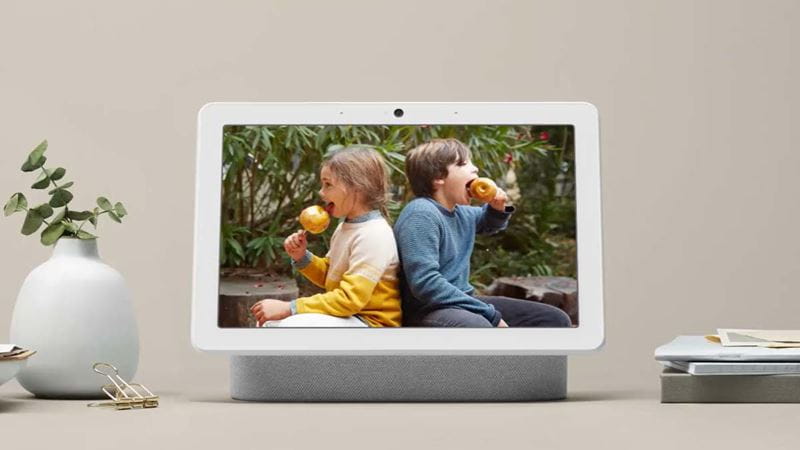
These instructions are the same for iPhone and Android users. Go to your Nest Hub and say, “Hey Google, change photo frame”. Now just tap on the album or albums you want to use, and tap Done.
If you don’t want to speak to the Google Assistant, open the Google Home app, tap on your Nest Hub on the home screen, then tap on Edit Photo Frame. Tap on Google Photos, then pick the album or albums you want to use. All of the photos in those albums will now appear on the home screen of your Nest Hub.
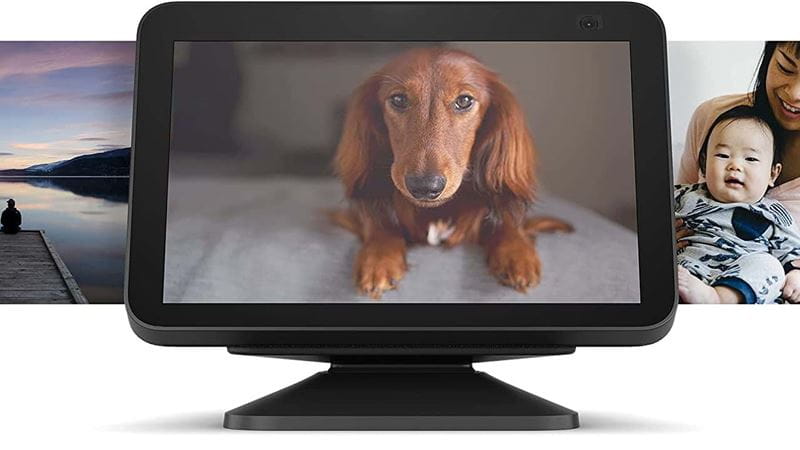
Download the Amazon Photos app to your smartphone, then log in using your Amazon account details. Within the app, go to Settings -> Upload Settings -> Save Photos. This uploads every photo from your smartphone’s camera roll to Amazon Photos.
If you have thousands of photos on your phone – or tens of thousands, in our case – this might take a while. Make sure you’re connected to your wi-fi to do this. As well as those already on your phone, every new photo you take will automatically upload to Amazon Photos.
Open the Alexa app on your smartphone then navigate to Settings -> Photos -> Facebook, then tap on Link Account. Now follow the on-screen instructions to add your Facebook account to Alexa and enable the Facebook Photos Alexa skill.
Lastly, you can send photos directly from your phone to an Echo Show.
To do this, open the Alexa app and go to More -> Settings -> Photos. Then tap on Devices and pick the Echo Show you want to use as a digital photo frame. Now tap Upload Photos, and you can pick which photos from your phone you’d like to use.
The annoying thing here is how you can only pick 10 at once, so you’ll likely have to repeat the process a few times.
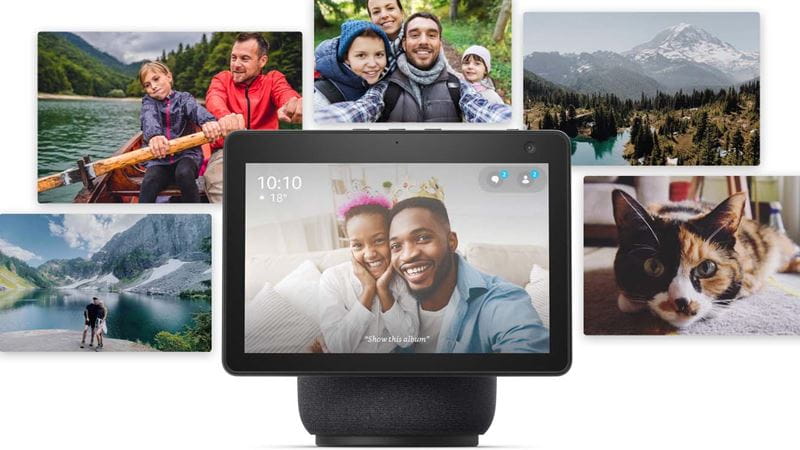
Now it’s time to switch on your Echo Show’s digital photo frame feature.
To do this, say “Alexa, set up my photo display” and the assistant will help you out. Alternatively, swipe down from the top of the screen and tap Settings. Once in the settings menu, tap on Clock & Photo Display. You can now choose one or more sources for where the photo frame feature gets its images from.
These include Amazon Photos, Facebook photo albums and photos uploaded from your phone, plus Daily Memories, which picks photos automatically, and This Day, which shows photos taken on today’s date from previous years. By default, your Echo Show will display more than just photos.
If you don’t want this, or want to adjust what it shows, navigate to Home -> Settings -> Home Content, and tap the toggle switches to disable the things you don’t want on the home screen.
If you have the larger Echo Show 15, swipe down from the top and tap Photo Frame to display photos full-screen. Lastly, you can use Alexa to control the photo frame and get more information. For example, you can say, “Alexa, show photos from the autumn”, or “Alexa, tell me more about this photo”.
The Meta Portal isn’t for sale any more, but we have included it here for owners who already have one.
It has a digital photo frame function that works with images from Facebook, Instagram and your smartphone camera roll. This works best if you already have photos arranged into albums on your Facebook profile.
If that’s you, keep reading. If you want to use photos from your Instagram profile or from your phone, skip to the relevant sections below.
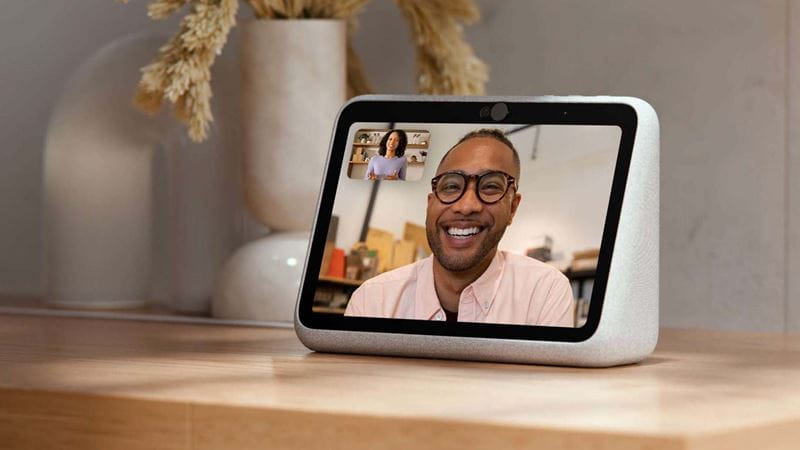
On the Portal itself, navigate to Apps then Photos. You’ll see all of your Facebook photo albums here, so it’s just a case of tapping the album you want, then tapping next to Display to add a photo to the photo frame feature.
Tapping the photo itself brings up the option to hide or unhide it, with the latter preventing it from appearing in the photo frame.
If you’ve hidden a photo by mistake, or have changed your mind, go from the home screen to Apps -> Photos -> Settings -> Hidden photos and tap the photo you want to “unhide”. It’s worth remembering that photos removed from your Facebook profile will no longer appear on your Meta Portal.
Similarly, if you add a new album to Facebook, you’ll need to dig back into Apps -> Photos and select the album or photos you want to appear in the photo frame.
To add photos from your Instagram profile, navigate to Apps -> Photos-> Add your Instagram photos -> Add account, from your Portal’s home screen. You’ll be asked to log in, then you can view your Instagram photos and pick which you want to appear on the Portal.
This requires the Portal smartphone app. Once installed, open the app and tap on Photos, then the plus icon in the top-right corner. This shows all the photos saved on your phone, and it’s just a case of tapping the ones you want to appear on your Meta Portal.
There’s also the option here to create and name a new album. We appreciate how this may seem more complicated than it should. This is because each smart display works differently, and the instructions differ depending on where your photos are coming from.
For us, Google and its Nest Hub has the simplest digital photo frame feature. That said, if you already have a lot of Facebook photo albums, or upload all your images to Amazon Photos, their respective Portal and Echo Show screens work equally well as digital photo frames.
In all cases, the setup process is worth the effort and your smart display will now serve up photos of memories and loved ones all day long.
Alistair has been a technology and automotive journalist since 2011. He specialises in smart home tech, from speakers and displays, to smart lighting, plugs, audio systems, security cameras and TV streaming devices.
Alistair has tested hundreds of products during his career and as a freelancer he currently writes for Wired, T3, Forbes, The Independent, TechRadar, BBC Science Focus and Grand Designs, among others.

Ingenious speakers, brilliant earbuds, nifty note takers - our expert picks his top tech gifts.

Electric models are set to dominate the market next year, including a flood of budget Chinese brands.

How breaking my phone ruined one of the best nights of my life - and the expert lessons that will help you avoid my mistakes

New to podcasts? Here’s our straightforward guide to finding them, playing them and enjoying them.

The EVs you should consider before the new electric vehicle road tax comes into force.

As the use of contactless soars, our columnist asks what can be done to prevent discrimination against those still wanting to use cash.
Follow our step-by-step guide to find out your internet speed - and whether it’s your device or broadband that’s slowing you down.
These video doorbells show you who's at your door, even when you aren't home.
We explain everything you need to know to connect an iPhone to an Apple Watch.
Think you know how to use WhatsApp? We've got some handy tips to help you get the most out of the messaging app.
